


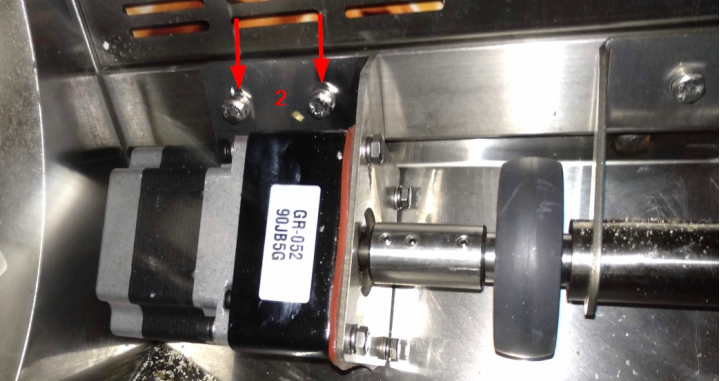
Step #2: Remove the bolts that fix the motor bracket (2) to the frame:
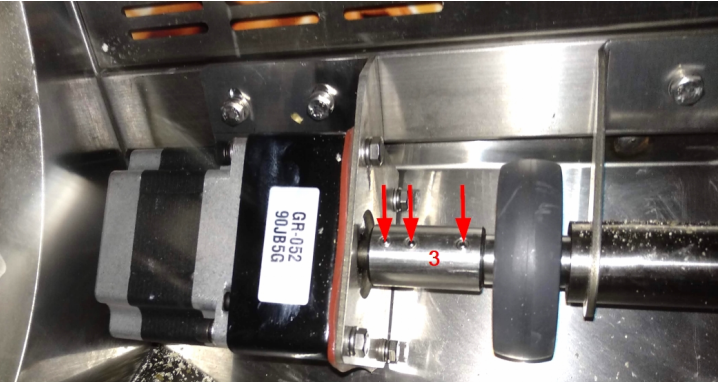
Step #3: Remove the flush screws on the clutch (3). NOTE: there may be two or three bolts, depending on the design version:
Step #4: Detach the motor, the clutch, and the roller.
Step #5: If silicone liner (4) needs to be added, remove the bolts that fix the motor (5) to the motor bracket (2):
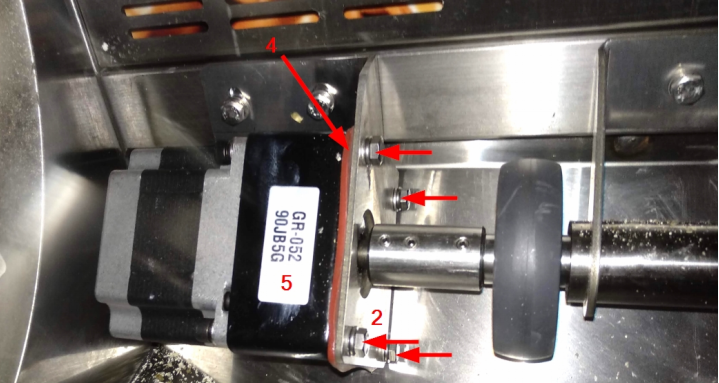
Step #6: Insert the silicone liner and fix the motor to the motor bracket with the bolts.
Step #7: Put the clutch on the motor shaft, fix with two flush screws.
Step #8: Fix the motor bracket to the frame, but don’t tight the bolts completely.
Step #9: Insert the roller shaft in the clutch, fix the flush screw.
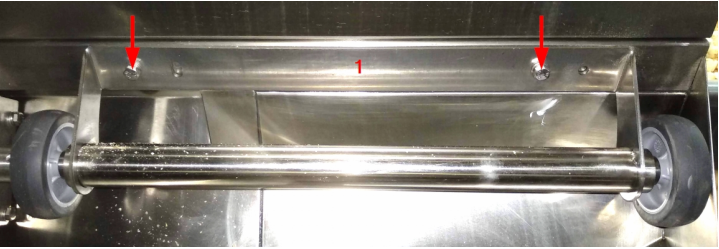
Step #10: Fix the roller bracket to the frame with bolts, don’t tight them completely.
Step #11: Pull the motor bracket upwards as possible (note elongated bolt holes on the motor bracket), then tighten up both bolts to fix the bracket to the frame. This is required to make the sifter angled, so oil won’t leak to the scrap tray.
Step #12: Tighten up the bolts on the roller bracket.
Step #13: Make sure the sifter lays evenly on all four wheels, adjust the angle of the idle roller, if necessary.